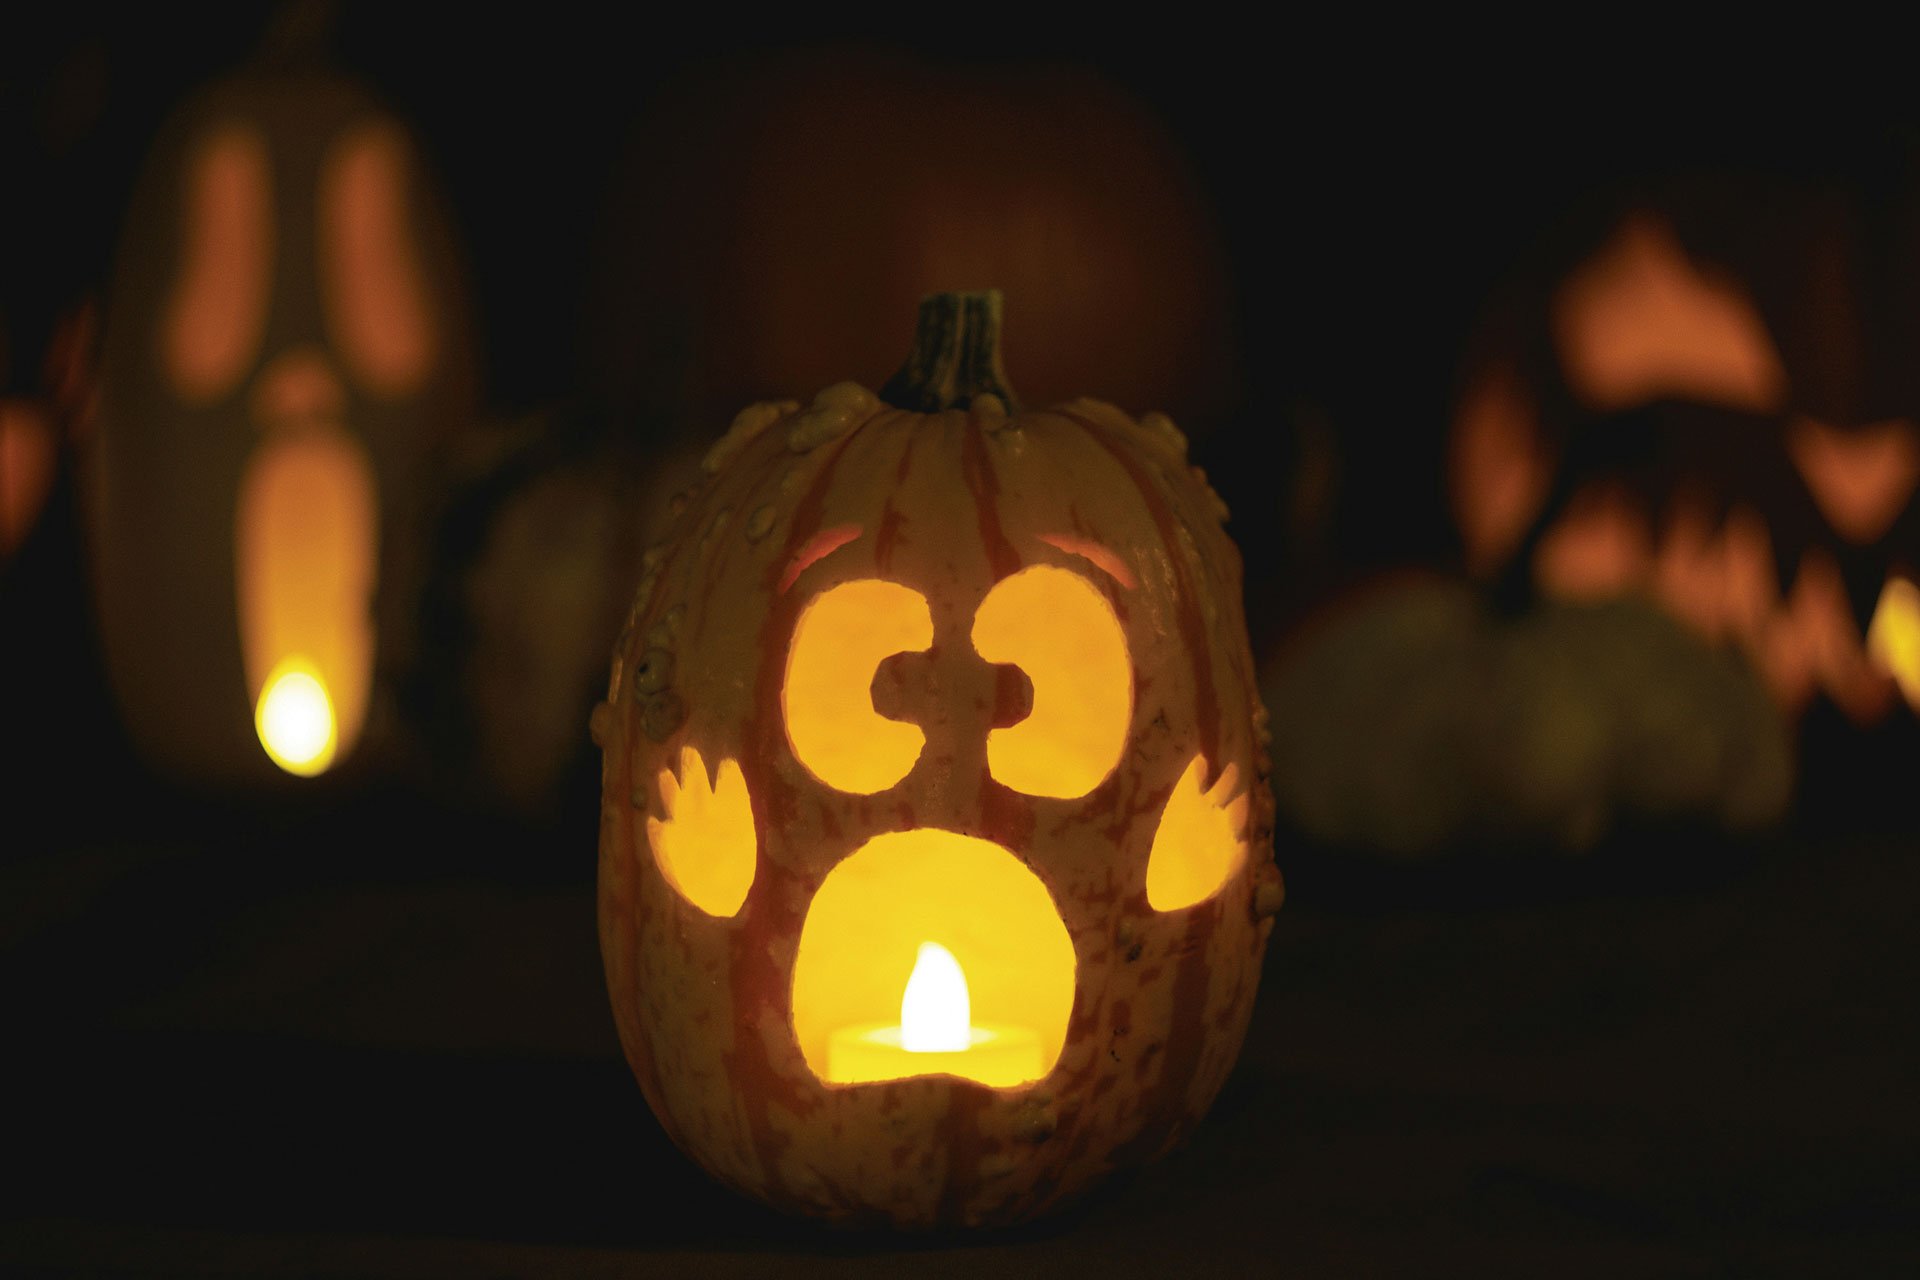
Pumpkin Carving 101
Grab a notebook and pencil and have a seat in Culinary.net’s Cookin’ Classroom! Every week, we’ll share cooking tips, kitchen hacks and easy ways you can become a better home cook. Whether you’re living on your own for the first time, starting a family or simply expanding your kitchen know-how, join us each week to learn how to sharpen your culinary skills.
Your kitchen isn’t just where you cook and eat – it’s probably at the center of many things your family does together. October, for many families, means gathering in the kitchen to carve the spookiest jack-o’-lantern they can conjure.
It may also be helpful to have your design in mind before heading to the pumpkin patch. Depending on the look you’re trying to achieve – a spooky smile, a ghoulish grin or a more intricate piece of autumn art – you may require a pumpkin that’s taller and thinner or shorter and wider.
When it’s time to put your art skills on display, gather these materials:
- Parchment paper, newspaper or disposable tablecloth
- Design template or stencil (unless you’re a pumpkin pro!)
- Pen and permanent marker
- Paring knife
- Steak knife or filet knife
- Ice cream scoop or long-handled spoon
- Bowl
- Trash bag
- Small battery-operated lights
- Accessories, such as yarn, pipe cleaners, candy, etc., for decorating
Start by applying your template or stencil with scotch tape, or simply outline your carving area with a pen. Once you’re confident in the layout, go back over the lighter pen lines with a permanent marker so you can easily identify where to cut.
Cut a hole in the back or on top around the stem of the pumpkin so you can use an ice cream scoop to remove the “guts.” Discard the strings but don’t throw away the seeds! You can use them to make Roasted Pumpkin Seeds – just watch our step-by-step video to learn how.
Time to carve! Use the sharpest knife available to follow the design you’ve traced then push pieces through and throw them away.
Finally, let your creativity really “shine” by placing small battery-operated lights inside the pumpkin and finish your creation with any accessories needed, like a witch’s hat, to top off your cackling creation.
Snap a picture of your pumpkin (or pumpkins!) this year and share it with us on Facebook.
